How to do Manicure At your Home
A manicure is a routine at home to keep your nails in good shape. It's not just about the polish on your fingers but also about how you take care of your cuticles and nails. A well-manicured hand can make you feel more confident, even if you don't have perfect nails. A manicure is a spa treatment that involves cleaning and painting the nails. A manicure also involves filing the nails, cutting them, or removing any damaged or dead parts of the nail.
The word "manicure" comes from the Greek word manikýōn, meaning "hand", and refers to the act of applying polish to the fingernails or toenails. The term "manicure" has been used in North America since the late 19th century, but it was not until the 20th century that it became widely used in England and the United States.
Manicures at home are known to have many benefits, such as:
- Strengthens your nails by making them stronger
- Prevents fungal infections on your hands or feet
- Increases blood circulation in your hands and feet and improves nail growth
- You can choose from different colours for your nails and toes. This allows you to find one that suits your style and mood.
- Using different nail polish colours or textures, you can try out new designs or patterns on your nail tips.
- You can get rid of ingrown hairs by trimming them regularly with scissors or a file.
- Keep your cuticles clean so they don't get infected by bacteria or fungus
What are all the items in the manicure set?
A properly organized manicure set includes:
- Nail cutter
- Cuticle pusher
- Cuticle nipper
- Nail buffer
- Nail file
- Pumice stone
- Toe separator
- Nail brush
- Orangewood stick
- Mid scrub
What are the 10 steps in a basic manicure?
A proper manicure makes you feel elegant and beautiful. But what about the increasing cost of salon manicures? Now we have found a way for you to avoid all the hurdles and pamper your soul. Here are 10 essential steps of a manicure:
1) Arrange the tools:

The key to managing any task is organization. Before starting the manicure session, ensure to collect all the tools.
Which is the best manicure kit?
Dr Foot's mani and pedi tool set have all you need to pamper yourself. Also, it comes with a black leather case that fits perfectly in your travel bag.
2) Remove nail polish:

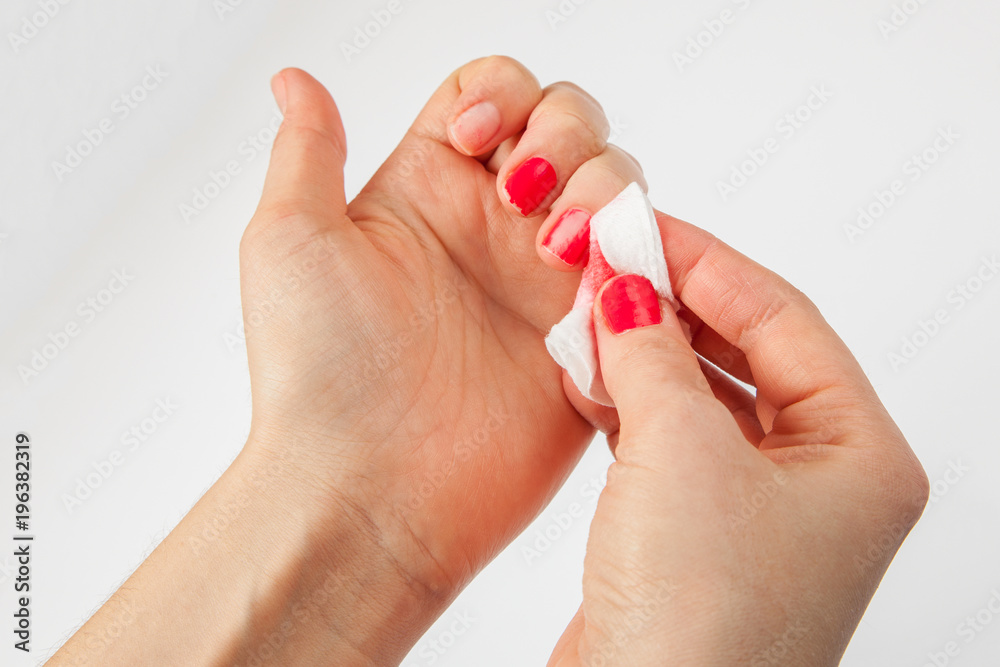
Manicures and pedicures have to start from scratch. First, ensure that you remove the previously applied nail polish. You can purchase a non-alcoholic nail polish remover because it is gentler on the skin. But alcohol-based removers work faster and be in your skin's contact for a short time. So if you are in a rush as an exception, you can use an alcohol-based remover.
3) Shape the nails:

The third step focuses on shaping and filing the nail. Trim your nails if necessary. Slightly rounded or square-edged nails are the best and most convenient options. Choose a crystal nail file instead of a metal file. Use a nail buffer to smoothen the sides and surface of the nail.
4) Soak your hands:

After the rigorous rubbing and shaping, it's time for the relaxing part. Place your hand in a bowl of lukewarm water. Add a gentle face cleanser or shampoo to the water. This process is necessary to soak your cuticles before trimming. This step shouldn't last more than three minutes because over-soaking can damage the nails.
5) Remove cuticles and callouses:

Remove the thick skin around your nails with a cuticle remover. The cuticle is the layer of the skin located at the bottom of your nail. This step refers to removing the dead cells and germs in the cuticle. If ignored, these dead cells can build infection.
6) Remove excess callouses:
In this step, you have to use a cuticle pusher to remove the excess dead skin around the nails. A cuticle pusher is a simple nail tool that pushes back your skin around the nails and stimulates healthy nail growth. Be careful, and don't rip, cut, or tear any part of your nails.
7) Moisturize:

After cleaning, it comes to nurturing your skin. Some people skip this stage, but ensuring soft, supple skin is essential. Though the cuticle is not supposed to be soft or gentle, it's made of skin that can build up dead cells if not moisturized. This step is also essential to hydrate and replenish your skin.
8) Prep for polish:
Take a cotton swab and wipe all the moisturizer residue. Ensure your nail has nothing emollient left; otherwise, the polish won't adhere properly.
9) Paint the nails:

This is your step to be creative. Start with the base coat and let it sit for 5 minutes. Then apply the nail paint and wait for some time. If you want to be innovative with the designs, you can use nail art stickers or glitter strands.
10) Reapply moisturizer:
After the nail paint is dried, reapply moisturizer all over your hands and massage for some time. It improves circulation and keeps your nail healthy.


